Tag: cleaning tips

Battling Mold in Your Bathroom

shower-tile

This time of year is when we start battling mold in our bathrooms. Mold loves dark, moist areas and a bathroom is its perfect home. Mold is a living fungus that reproduces when it has enough water and food. Mold is not related to cleanliness but to moisture, therefore even the cleanest bathroom can have an ongoing mold issue.

Some mold is more dangerous than others, but most molds are just growing organisms that damage walls and tile grout. Mold growing on porous drywall is actually using the drywall for food and destroying it in the process.

Bleach will not kill mold. It will change its appearance but the mold will grow back. And, bleach is unhealthy and damaging to the environment. To kill mold you must use an anti-microbial.

tea-tree-oil-anti-microbial

This year, wage a different battle against mold. Use these few simple tricks and a green DIY recipe to keep mold from growing in your bathroom.

  • Run the fan as much as possible – mold can’t grow without moisture. Run your ceiling fan for at least 10 minutes AFTER the steam has disappeared from the bathroom mirror. Moisture stays in the air long after you can see it, so let the fan run the entire time you are getting ready in the morning.
  • Open the window even slightly so you have continual fresh air - Fresh air helps damp surfaces dry faster.
squeegee-shower

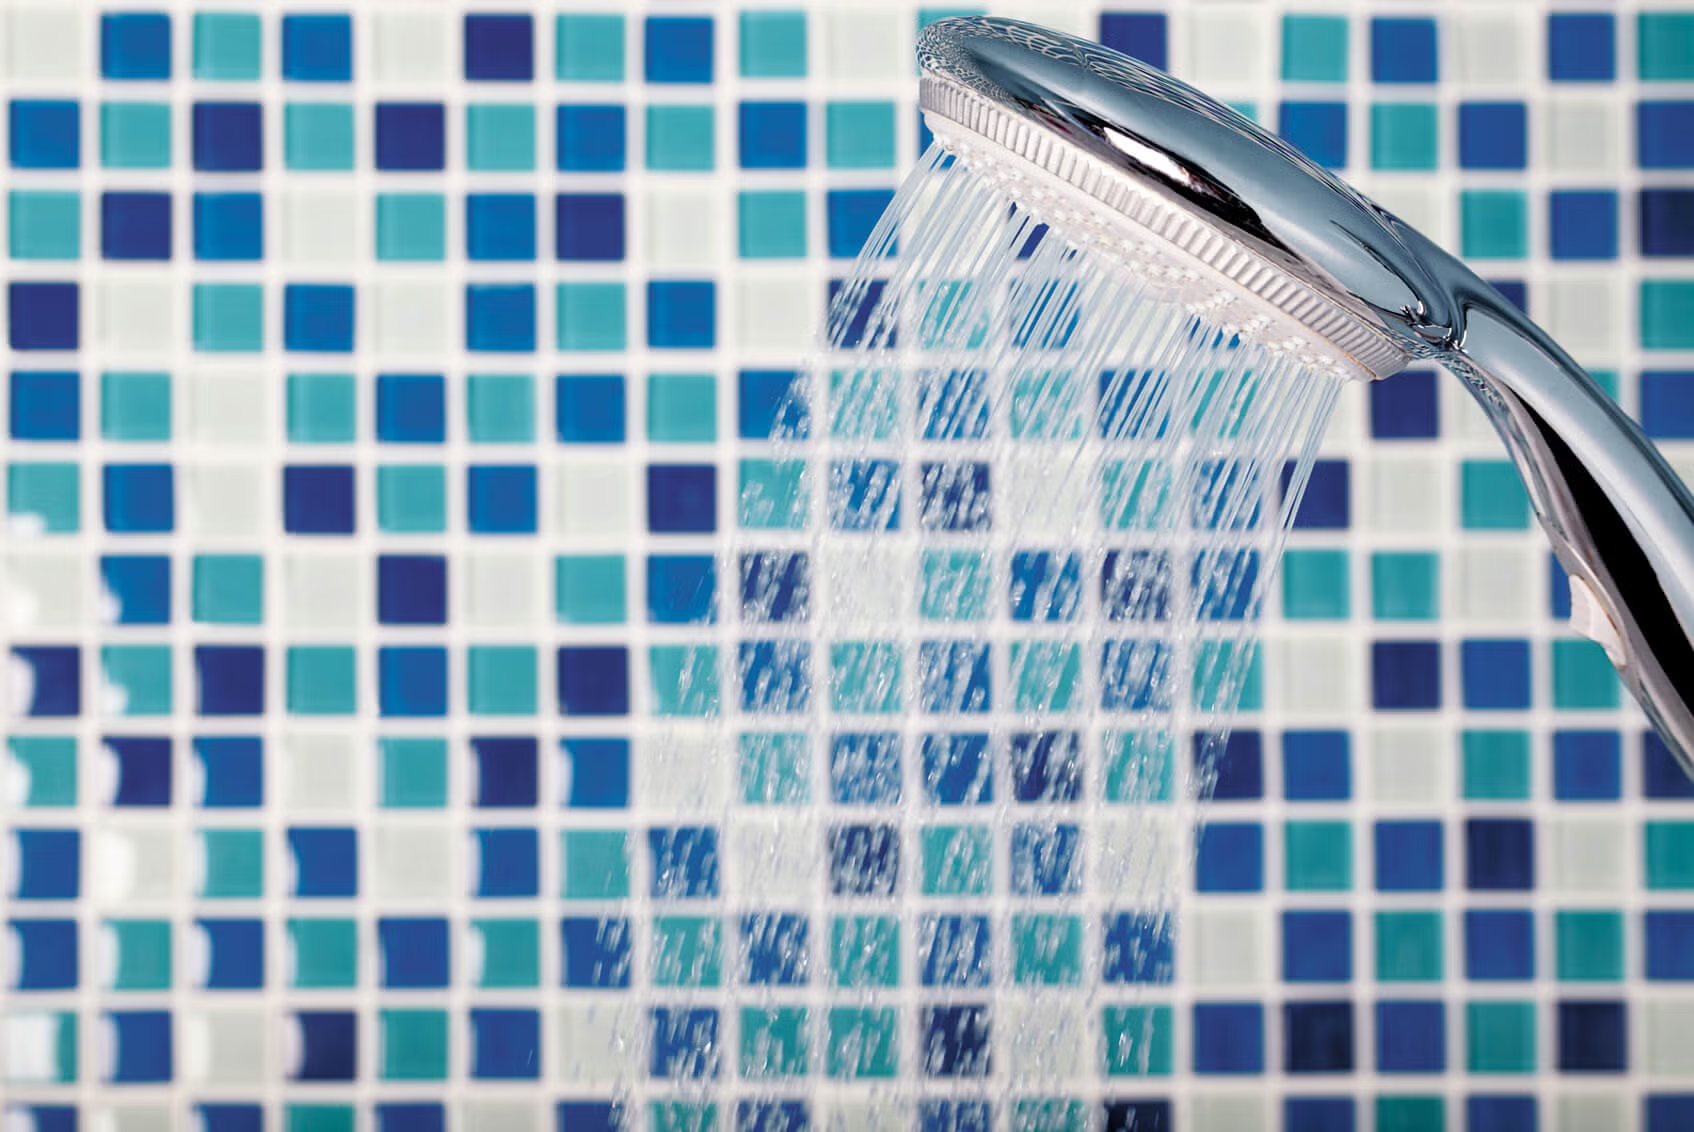
  • Use a squeegee to remove water on the shower walls and glass doors - This will not only stop the mold but keep your shower clean. If you squeegee your shower, you’ll almost never have to clean it.
  • Wipe down surfaces with a microfiber cloth – if you wipe down damp surfaces in your shower and sink with a microfiber cloth, everything will dry faster and you will stop mold in its tracks. Make sure to take the damp microfiber cloth out of the bathroom when you are done.
battle-mold-with-microfiber

  • Hang wet towels outside of the bathroom -Wet towels can take up to 24 hours to dry and create unwanted extra moisture.
  • Hang wet bath mats outside of the shower area – Shower mats collect a ton of water. These carpets can take days to completely dry. Hang mats and throw rugs outside so that they can dry completely.
shower-curtain

  • Shake out your shower curtain- Shower curtains are a breeding ground for mold. Moisture gets into the pleats which are perfect a perfect breeding ground for mold. By shaking out the curtain you remove the excess water and help it to dry faster. Remember to keep the curtain completely drawn.
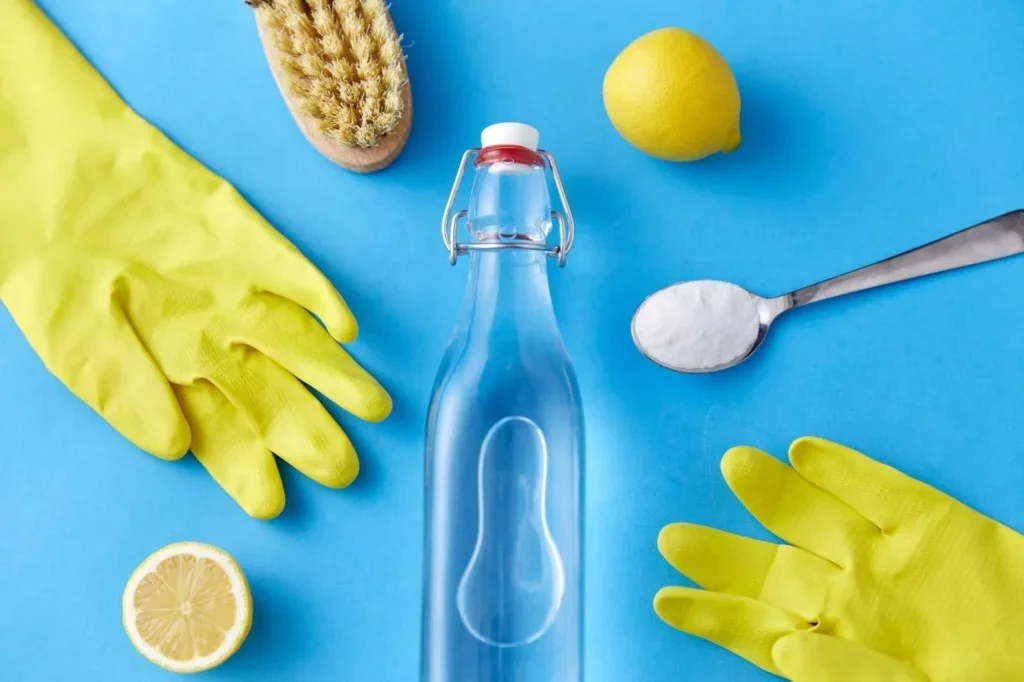
  • Spray this DIY mix daily on dry tile grout and drywall –
    • Vodka or witch hazel
    • 20 drops of tea tree essential oil

Combine ingredients in a spray bottle and spray the mixture on dry tile grout and drywall daily (it's important the grout is dry, so that the mixture will penetrate the grout pores to kill mold beneath the surface). The alcohol in the vodka will evaporate very quickly and the anti-microbial properties of the tea tree oil will work to kill the mold and mold spores in your shower area. This mix is great to use on ceilings too, especially textured ceilings that are difficult to wipe down.

  • Clean your bathroom regularly or hire a cleaning service. Mold needs a food source to survive. It eats dead skin cells trapped in soap scum residue. Eliminating mold requires removing its food source. So a frequent, thorough shower cleaning will go a long way toward reducing your problem long term.

A bathroom is a very hospitable environment for mold, so the battle against it will be ongoing, but with these tips you can be more effective, safely.

Keep Your Closet Beautifully Organized

closet-organization

You never know what you have until you clean your closet.

I love a clean closet but I have to admit, I hate cleaning it! Closets are like bedroom dresser drawers in the sense that if you don’t properly put your items away neatly, it quickly turns into an unorganized mess.

Not only do I use my beautiful walk-in bedroom closet for my clothes, but I also use it for storing papers, books, kids school calendars and everything I need in life at the moment. Sometimes I use it for storage, for hiding things like the vacuum, holiday presents, and even my laptop. My closet has always been my number one personal storage space that I can count on to call home for any of my personal items.

I have tried all different ways and techniques to keep my closets neat and I can honestly say that if I don’t go through my clothes, shoes, books, papers, handbags and jackets AT LEAST twice a year, everything quickly builds up.

Here are some clever ways to keep your closet clean that actually work:

When tackling your closet, put each item into one of three piles, the “yes” pile, the “no” pile, or the “not sure” pile. Try and keep the “not sure” pile to a minimum. Ask yourself, “does this item look good on me, do I love this item, is this the image I want to show.” If the answer is “no” to any of those questions, place the item in the “no” pile. Learn to let go of the past and feel good about donating your clothing to those in need.

After the “not sure” pile is completed, pull out all the clothes you are keeping because of sentimental reasons. If you don’t currently wear them but really cannot let go of these items yet, you may want to store them in another area of your home. Try not to keep them in your closet.

Organize all of your items in the closet into sections by color.

For shoes, face one shoe forward and one backwards. Storing your shoes like this gives you more room. You can also see the differences in the height of your heels too!

wooden-hangers

Use the same type of hangers throughout your closet. Everything looks so much neater. I do this in every closet in my home. It makes your clothes look so elegant, and the closet more aligned. Don't want to make the investment in new hangers all at once? Replace them in smaller groups, either by clothing type (pants first, then shirts, skirts, dresses, etc) or buy a new package of hangers each month until you have enough. The dry cleaners will be happy to have the wire hangers back, and a donation center will appreciate the hodgepodge of plastic and clip hangers you've collected over time.

When stacking piles of pants, hoodies, or even sweaters on the top shelf, try using a plastic clothing organizer called Slide N Stax®. It keeps your clothing stacked nicely, even when you are grabbing from the pile! If putting your clothing together by colors doesn’t suit you, try grouping your items a different way. For example, put all blouses together, then all dresses together, and so on. Or, you can group your items according to sleeve or pant length, or season to season. Choose whatever you think will work best for your personality and your lifestyle.

Buying and hanging belt racks around the closet is a huge help! I use belt racks to hang belts, bags, scarves, and ties.

To avoid wearing the same things each day, after the item is cleaned, hang it on the rod in front of all the other items. My husband does this with his suit shirts so he doesn’t wear the same shirts twice in the same work week.

When hanging up your new clothes of the season, place the hangers backwards in the closet. Every time you wear a piece of clothing, hang the item up with the hanger facing front. This way, when the season comes to an end, you will have a better idea of which items you haven’t worn that you may want to donate.

Space Bags are a great way to store items because they take up very little space and they can be easily stored under beds, in closets, or on shelves. For storing winter jackets and snow suits or even bulky bedding, these bags may come in handy! Some people even use these in their suitcases when traveling!

When storing clothes in an area of the basement, add some chalk pieces in cloth bags and pack them with your clothes in the storage bin. Chalk absorbs moisture and will help protect your clothing by keeping it dry.

Before putting all your clothing and other items back in the closet, be sure to clean your closet well. Vacuum with a HEPA filtered vacuum, paying close attention to corners and tops of shelves. Wipe everything down with your favorite homemade green cleaner and a microfiber cloth.

Finally, stand back and admire your beautifully organized closet!


Green cleaning works on appliances, too!

glass-top-stove-cleanerToday's high-end appliances take expensive specialty cleaners to keep looking brilliant - or DO they? Leslie Reichert has some green cleaning techniques that work just as well, and you probably have them on hand right now.

Cleaning appliances can be a struggle. Since there is a growing number of cleaning products manufactured specifically for each of the different finishes available today, like stainless steel polish, porcelain scrub and even glass-top stove cleaner, you could buy a dozen different products just to clean your appliances! Instead let me show you some DIY ideas for cleaning appliances. With a few simple ingredients and some microfiber cloths, your appliances can be perfectly maintained for just pennies.

glass-top-stove

Cleaning the stove

The stove is one of the hardest appliances to clean. Burnt-on food coupled with spattered grease make cleaning this surface a chore.  If you have a glass-top stove, try using my “green” scrub.  First, use a flat utility blade to scrape off burnt food, taking care not to cut your fingers.  Next, sprinkle the scrub powder onto the glass surface. Using a damp sponge, work in circles until all grease and stains are loosened. Finish by wiping the glass-top clean with a damp microfiber cloth.

Green Scrub Recipe

  • 1 cup baking soda
  • 1 cup table salt
  • 1 cup borax
  • 8 drops pure essential oil for fragrance

Mix well and place in a shaker container

clean-oven-interiorCleaning the oven*

Typical oven cleaners contain toxic chemicals and fumes that are very dangerous – potentially damaging your lungs, your skin and even the food you cook in your freshly cleaned oven.  Even if you rinse the oven really well, there will still be some off-gassing that happens the next few times you use your oven.  Instead, let’s use the power of science to clean your oven. Start by sprinkling some baking soda over the base of the oven. Then fill a spray bottle with distilled white vinegar and lightly spray it over the baking soda. The mixture will start to foam, just like the chemical oven cleaners.  This foam will lift off anything stuck on the oven, without using toxic chemicals. Continue to spray the vinegar onto the baking soda frequently, until the foam has done its work. Soon the mess will wipe right off.

*Do not use this method if you have a self-cleaning oven.

stainless-steel-appliance-cleaner

Stainless steel appliances

There is a daily fight with fingerprints left on stainless steel appliances, in large part because the people putting the fingerprints ON the appliances are not the ones wiping them off! But stainless steel can actually be cleaned very easily. For daily wiping of fingerprints, use a finely woven microfiber cloth – the same type of cloth your eye doctor gives you for cleaning your eye glasses – to keep your stainless steel looking great. To protect stainless steel from fingerprints in the first place, use a light coat of organic olive oil over the entire appliance. The oil will actually work to repel the oils on your fingers. It will keep your stainless steel looking great for a week or more.  After a week, wipe the surface with a microfiber cloth and reapply.

Black appliances

Black appliances look stunning, but just like a black car they show every water spot and piece of dirt. Clean them daily by wiping with a damp, fine woven microfiber cloth. Wipe the entire appliance then let it air dry. The microfiber cloth will remove all dust, dirt and water spots and leave it looking perfect.

granite-counter-cleanerGranite countertops

Nothing is more beautiful in a kitchen than a granite countertop. Light colored granite with lots of veins, always look clean. Dark brown or black granite, however, seems to highlight streaks and smears.  No matter the color avoid typical granite cleaners, which contain oils that make the counters look foggy. Instead, clean the counters and remove bacteria using a spray bottle of hydrogen peroxide. If the counters just need a wipe, use plain water with a dry microfiber cloth to restore the surface to a perfect clean look.

The Three R’s to Garage Organization

The garage – a building or shed for housing a motor vehicle or vehicles. If that’s the textbook definition, how is it that the garage nearly always ends up becoming a home for stuff we are tired of looking at, we don’t have room for, and we’re not even sure we need? It is a “safe spot” for things we know we have to go through but just don’t want to face. The garage is like a time capsule, accumulating evidence of its owner’s interests, professions, and hobbies. It is a place where items go in but never seem to come out. And since mine is a two car garage, finding a seldom used item trapped deep in a corner is an expedition on the magnitude of an archaeological dig!

“Just put it in the garage, I’ll go through it when I have time.”

I cannot begin to tell you how many times I have said that statement throughout my years as a homeowner.

Well, not anymore! Now that summer is over and we’re back to a routine, the time has come to finally tackle this, the biggest area of my home. Because I use my garage for my cars AND for storage, I really need to be on top of my game when it comes to organizing.

But, cleaning the garage sounds worse than it actually is. If you just follow the three “R’s” listed below you will be able to enjoy a clutter-free, organized room that can actually serve its intended purpose. Don’t be afraid to ask family, friends, or even neighbors for help.

Remove

The first step is to remove everything (yes, everything) from the garage. All those mysterious wires, plugs, batteries, sports related items, garden tools, shoes, and boxes should be taken out, assessed, and (mostly) eliminated.

After everything is out, begin separating unused/unwanted items into two piles, the “dumpster pile” and the “donate pile.” Try to get rid of anything that has not been used in the past twelve months. The garage should be a place that reflects the current life of the family that uses it, not a place to store items that you think you may possibly need in the future.

So go ahead, remove those motorized scooters that require chargers and batteries which are not made anymore, manual scooters that are way too small, unicycles, skateboards, plastic toys, helmets, and 7 coolers (how many is too many)? Don’t forget to remove all the “just in case” items that, deep down, you know will never be used!

Rent a dumpster if you plan to get rid of large volumes of stuff.

Rethink

After the sorting is completed, ask yourself what you really want to use your garage for. Parking? Paints? Bicycles? Gardening equipment? Holiday decorations? All of the above?

colored-storage bins

When you decide want this large square footage area is for, divide the garage into different sections, or zones. When each item has a designated area to call home, not only is everything easier to find, but each space has set limits on the amount of items that can fit. That is the key to keeping the volume of “stuff” stored and organized.

To separate zones, use different colored bins, tags, boxes, or even different colored walls. This way each member of the family knows which items go in which zones. For example, for the “blue tool” zone, spray paint the pegboard blue.  Use orange tags on clear bins for the kids sports equipment.

Restore

Time to move the remaining items into their newly designated areas.

Store things according to each items’ frequency of use, placing the least used items at the highest point. Yearbooks, photos and childhood memorabilia can be placed at the top.

peg-board-garage

Frequently used items like tools can be affixed to a piece of pegboard or hung from hooks within easy reach. Hang all saws, gardening tools, brooms, mops, and even outdoor fold up chairs on nails, hooks or more peg board. Use heavy-duty plastic shelving for bins holding frequently used items, like gloves, umbrellas, lightbulbs, and extension cords.

Nothing should be kept on the garage floor. This way the floor is easy to sweep and keep clear of the accumulation of leaves, cobwebs and unwanted bugs. Anything that was once stored in cardboard boxes should now be placed in color coded bins. This keeps things organized and rodents from nesting in your belongings.

tool-hanging-storage-garage

If extra space is needed in certain zones, create a loft, using vertical storage. A sheet of particle board or medium-density fiberboard secured to the rafters is a great way to add much needed storage space.

Never put paint and chemicals down the drain or in the trash. Instead, recycle these items using the app, “iRecycle.” Based on your location, it lists all the collection facilities near you.

Finally, pull those cars into your garage and sit back and enjoy using your beautifully organized, clean, space in the way it was originally intended.


Clutter in Your Home: Unwanted Mess or Hidden Treasure?

declutter your home

Clutter may seem like chaos at first glance, but what if there are hidden treasures lurking in your stacks of mail and unfolded laundry? Rather than declaring every piece of clutter a nuisance, Maid Brigade encourages you to rethink your approach to your home’s messes and consider the surprising benefit and value forgotten items can bring. 

With careful organization and a bit of attention, you can transform clutter into a purposeful part of your space. In this blog, we’ll help you differentiate between junk and metaphorical jewels so you can bring peace, order, and joy to your living space.

Clutter or Hidden Gem?

The first step in addressing clutter is adjusting your frame of mind. What may seem like an unwanted mess could actually be objects with sentimental, practical, or aesthetic value. Think of that stack of old magazines — could they be repurposed for creative projects or serve as nostalgic keepsakes? What about those kitchen gadgets collecting dust? Are they tools for a hobby you’ve neglected but still love? What if a friend or relative has been dying to get a stand mixer, and yours is just sitting there, unused and in the way? The truth is that some elements of clutter can enhance your home when given the proper context. Plus, any items you do deem “unwanted” may be valuable to someone else. Whether you’re donating or gifting, don’t forget that every mess in your home has the potential to be perfectly repurposed. 

Organize with Intention

To fully unlock the potential in your clutter, focus on thoughtful organization. Start by sorting items into categories: keep, donate, recycle, or toss. Keep what adds value to your life, and let go of the rest. Use storage solutions like baskets, bins, and shelves to create an orderly home where everything has its place. For items you cherish but don’t use daily, such as photo albums or family heirlooms, consider creative ways to display them or store them safely. A little structure can turn a chaotic pile into a collection of memories and treasures.

The Beauty of a Well-Curated Space

Once your clutter is sorted and organized, you may find that your home feels more inviting and functional. You may also feel more inclined to invite guests or revisit projects and hobbies you previously didn’t have the space for. Clear countertops, tidy shelves, and neatly arranged spaces not only reduce stress but also boost your overall well-being. Like a breath of fresh air, a clean home is a reminder that you have all the space you need to relax and make time to enjoy the things that truly matter.

benefits of decluttering

When to Call in Reinforcements

While daily tidying and organization can do wonders, some tasks require more time and expertise than you might have. Deep cleaning, tackling hard-to-reach areas, or refreshing your home after a renovation are all jobs best left to professionals. That’s where Maid Brigade steps in. With our eco-friendly PUREcleaning® system, we make your home shine without harsh chemicals and residues.Imagine your space transformed — a cleaner home, a healthier home, and a better future. Contact your local Maid Brigade today to discover how we can help you turn your cluttered home into a sanctuary of order and beauty.

20 Cleaning Tips to Make Your Life Easier (and Healthier)

a woman enjoying their clean and healthy living room

Life moves fast, and messes happen even faster. Between work, family, and a growing to-do list, it’s easy to let household cleaning slip to the bottom of your priorities. But here’s the good news: keeping a clean, healthy home doesn’t have to be overwhelming. These 20 simple, effective cleaning tips are designed to save you time, reduce stress, and give you back the freedom to enjoy your space. Whether you’re looking for a quick reset or a smarter routine, these ideas will help you clean more efficiently and breathe a little easier.

20 Time-Saving, Health-Conscious Cleaning Tips

1. Start with a 10-Minute Tidy

Set a timer, clean one room, and stop. It builds momentum and keeps tasks manageable.

2. Always Clean Top to Bottom

Dust falls downward. Start with fans and shelves, finish with floors.

3. Use a Microfiber Cloth

These trap dust and allergens better than paper towels, and - bonus - they’re reusable.

4. Switch to Green Cleaning Products

Green cleaning uses non-toxic, eco-friendly products that are safe for your family and the environment.

5. Freshen Your Garbage Disposal with Citrus

Run lemon or orange slices through to remove odors and grease naturally.

6. Repel Dust with Dryer Sheets

Use them on baseboards and blinds to reduce future buildup.

7. Save the Bathroom for Last

It’s usually the dirtiest. Clean it last to avoid spreading germs.

8. Make Your Bed Every Morning

Instant visual reset! Plus, it motivates other good habits.

9. Declutter as You Move

Keep a “donate” bin handy and fill it gradually.

10. Contain Clutter with Baskets

Quick resets, better organization, less stress.

11. Vacuum Slowly for Better Results

Rushing leaves dirt behind. Slow down for a deeper clean.

12. Clean as You Cook

Tackle dishes and wipe counters while food simmers.

13. Use Baking Soda for Deodorizing

Sprinkle it on mattresses or rugs, then vacuum.

14. Disinfect High-Touch Surfaces Weekly

Think: doorknobs, light switches, remote controls.

15. Declutter One Drawer at a Time

Micro-tasks add up to major wins.

16. Use a Squeegee After Showers

It prevents mold, soap scum, and water spots.

17. Keep Supplies in Each Area

Store bathroom cleaner in the bathroom. It saves time.

18. Make Cleaning a Game for Kids

Turn chores into scavenger hunts or races.

19. Use a Cleaning Caddy

A portable supply bin = less back and forth.

20. Bring in the Pros When You Need Help

Sometimes the smartest tip is calling in a trusted cleaning service.

What Does a Healthy, Clean Home Look Like?

Here’s a quick checklist:

☐ Surfaces wiped with non-toxic cleaners

☐ Air smells clean, not chemically fragranced

☐ Upholstery and floors vacuumed regularly

☐ Bedding and towels washed weekly

☐ Clutter contained or removed

☐ High-touch areas disinfected

☐ Mold and mildew kept at bay

☐ Rooms feel breathable and fresh

Why Choose Maid Brigade for Green Cleaning Help?

At Maid Brigade, we care deeply about more than just clean counters. We know the power of a healthy home: a space that supports your well-being, not just your to-do list.

Our exclusive PUREcleaning® system uses electrolyzed water and advanced tools to clean deeper, without harsh chemicals. It’s science-backed, non-toxic, and safe for kids and pets.

Frequently Asked Questions About Healthy Home Cleaning

What are the easiest cleaning tips to start with?
Start with the 10-minute tidy and high-touch areas. These create visible impact fast.

What is green cleaning?
Green cleaning uses non-toxic, environmentally safe products that reduce indoor air pollution and chemical exposure.

How do I clean efficiently when I’m short on time?
Prioritize kitchen counters, bathrooms, and floors. Small, daily routines reduce overwhelm.

When should I call a professional cleaning service?
If you’re prepping for guests, overwhelmed, or want a seasonal reset, a pro like Maid Brigade saves hours of time and delivers a deeper clean.

Life’s Too Short for Endless Cleaning

You don’t have to do it all. With Maid Brigade’s reliable, relational, and healthy home cleaning services, you get time back and peace of mind.Book your first cleaning today!

Homemade Remedies for a Sparkling Clean Home

A homemade cleaning solution

Who says you need to spend a fortune on cleaning supplies to achieve a sparkling home? With just a few everyday household items and a touch of creativity, you can whip up some effective, safe, and eco-friendly cleaning solutions. 

DIY cleaning can be fun, cost-effective, and a great way to reduce the number of chemicals entering your home with light maintenance cleans. And when it comes to deeper, professional-grade cleaning, Maid Brigade is here to ensure your home gets the non-toxic, thorough treatment it deserves. Maid Brigade’s PUREcleaning® system — powered by electrolyzed water — delivers a hospital-grade clean without the dangers of harsh chemicals. 

Natural (and Safe!) Cleaning Solutions You Can Try

Many conventional cleaning products contain chemicals that can leave behind harmful residues, contributing to indoor air pollution and potential health risks such as asthma or skin and eye irritation. By switching to natural alternatives, you’re making a safer choice for your home, your loved ones, and even your pets. DIY solutions offer an easy and effective way to keep surfaces fresh while avoiding unnecessary exposure to toxins. 

Sparkling Surfaces

For an all-purpose surface cleaner, a simple mixture of white vinegar and water does wonders. Combine equal parts of both in a spray bottle and add a few drops of essential oil, such as lemon or lavender, for a refreshing scent. This solution works on most surfaces, but be sure to avoid using it on natural stones like granite or marble, as the acidity can cause damage over time.

Glittering Glass

Windows and mirrors can sparkle without store-bought sprays. Mix two cups of water, 1/4 cup of white vinegar, and a tablespoon of cornstarch in a spray bottle. Shake well before each use, spray on glass, and wipe clean with a lint-free cloth or even newspaper for a streak-free finish.

Squeaky-Clean Carpets 

To freshen up your carpets, try making a homemade deodorizer. Mix one cup of baking soda with a few drops of essential oil. Sprinkle the mixture over your carpet, let it sit for 20 minutes, and vacuum thoroughly. This simple remedy not only neutralizes odors but also leaves your home smelling absolutely amazing.

Fully Functional Drains 

Slow drains can be frustrating, but a natural solution can save the day. Pour 1/2 cup of baking soda down the drain, followed by 1/2 cup of white vinegar. Cover the drain and let the fizzy reaction work its magic for about 10 minutes. Finish by flushing the drain with boiling water, and you’ll have clear, fresh-smelling pipes in no time.

Fresh Floors 

Even your floors can benefit from a DIY approach. Mix 1/4 cup of castile soap with two gallons of warm water for a gentle yet effective floor cleaner. Add a few drops of essential oil for a pleasant aroma and mop as usual.

Infographic titled “Make Your Own Household Cleaners.” It lists three DIY recipes: Surface Cleaner – equal parts water and white vinegar, plus a splash of essential oil. Window Cleaner – 2 cups of water, 1/4 cup of white vinegar, and 1 tablespoon of cornstarch. Floor Cleaner – 1/4 cup of castile soap and 2 gallons of warm water.

When DIY Isn’t Enough

While these homemade remedies are perfect for routine cleaning, some tasks require a more thorough, professional touch. This is where Maid Brigade excels. Using electrolyzed water as part of our PUREcleaning® system, we provide a deeper clean without relying on harsh chemicals. This innovative and eco-friendly method ensures your home is not only spotless but also safe for your family and the environment. But what exactly is electrolyzed water, and how does it clean so effectively?

It all comes down to a simple, scientifically backed process. We take salt, water, and electricity and transform them into a powerful yet completely non-toxic cleaning and disinfecting solution. The result is two key components:

  • A grease-cutting cleaner (sodium hydroxide) that breaks down dirt and grime on surfaces.
  • A deep disinfectant (hypochlorous acid) that eliminates bacteria, viruses, and other harmful germs without leaving behind harsh chemical residues.

Unlike conventional cleaners filled with synthetic chemicals, scents, and dyes, electrolyzed water is tough on dirt, grease, and germs without unfortunate side effects like unpleasant odors and risks to your health. It’s the same technology used in hospitals and healthcare facilities — now available to keep your home fresh, healthy, and sparkling clean.

Live in a Home That Truly Shines

Picture this: Your kids have their toy cars, crayons, and wooden blocks all over the living room carpet. They’re playing (and let’s be honest, probably putting their hands in their mouths) and you’re not worried about toxic carpet shampoo or other chemical cleaners harming them. Picture your pets, too. Your dog is lounging on the couch. Your cat is occupying their favorite spot on the windowsill. And look at you! You’re totally not stressed as you go about your day and move from room to room, preparing delicious meals on clean, safe surfaces and relaxing in an environment where it feels like every breath is full of fresh, clean air. 

What you’re picturing can easily become your reality. Stick to our DIY cleaning remedies for everyday cleaning, but don’t forget that Maid Brigade plays a central role in making your home cleaner, healthier, and ultimately happier with a regular cleaning service. So, are you ready to elevate your home’s cleanliness to the next level? Contact your local Maid Brigade today, and let us transform your space with safe, professional, and effective cleaning services.