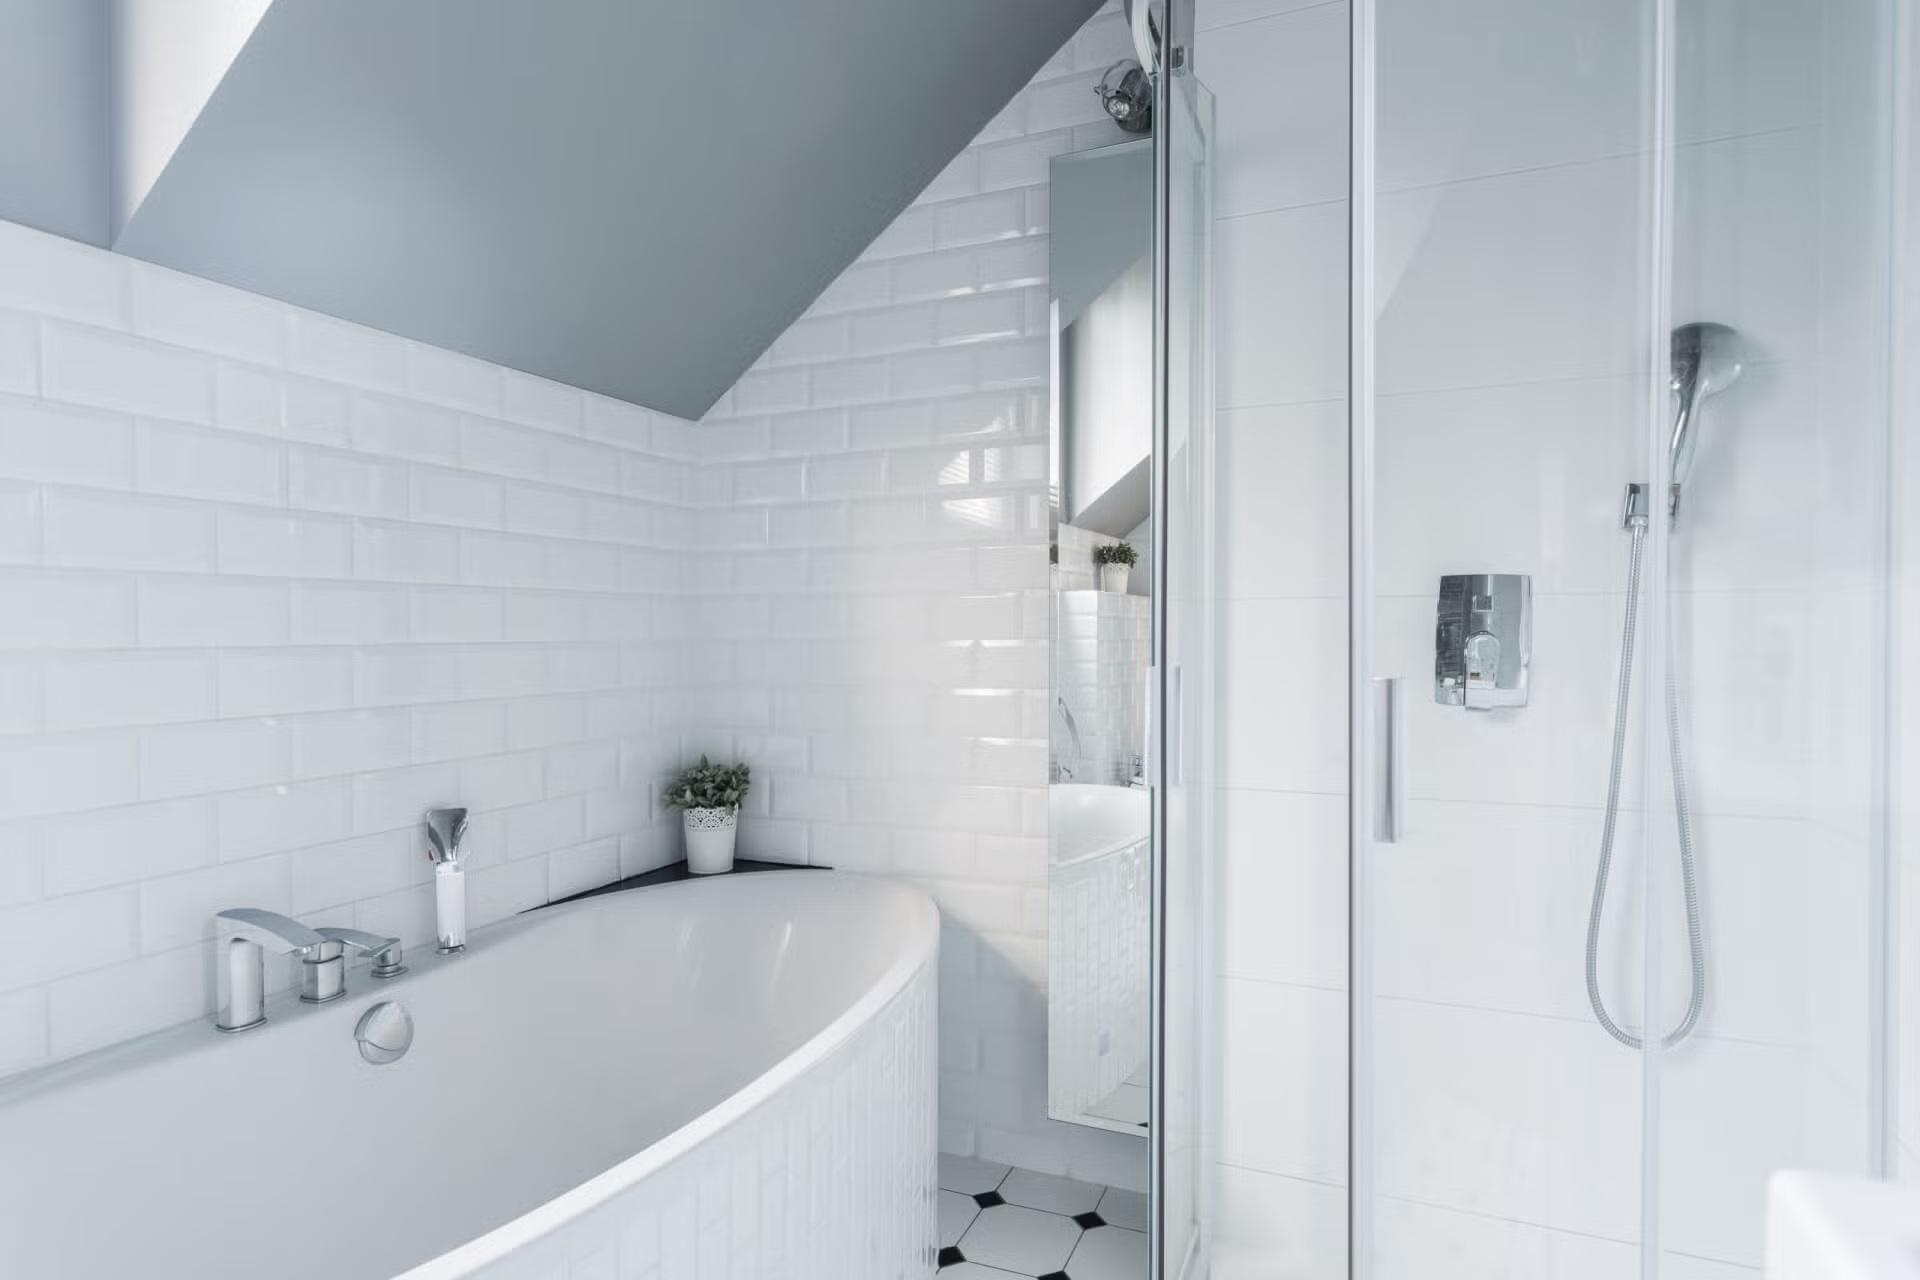
Tile on the walls of your shower can have a very dramatic look. I love how the Fixer Upper Show uses the different colored Subway tiles in all their renovations. But when I’m watching them install it, I have a little voice reminding me that the grout is going to be a real job to keep clean. Grout is very porous and absorbs all the moisture and soap scum in the shower. Add in that the shower area is dark and moist and you’ve got the perfect conditions to grow mold and mildew. Here are a few daily maintenance tips that will keep the tile grout looking good.
Run your exhaust fan for 20 minutes after the fog on the mirror disappears. Just because you can’t see the moisture doesn’t mean it’s not still in the air. You want to keep the room as dry as possible.
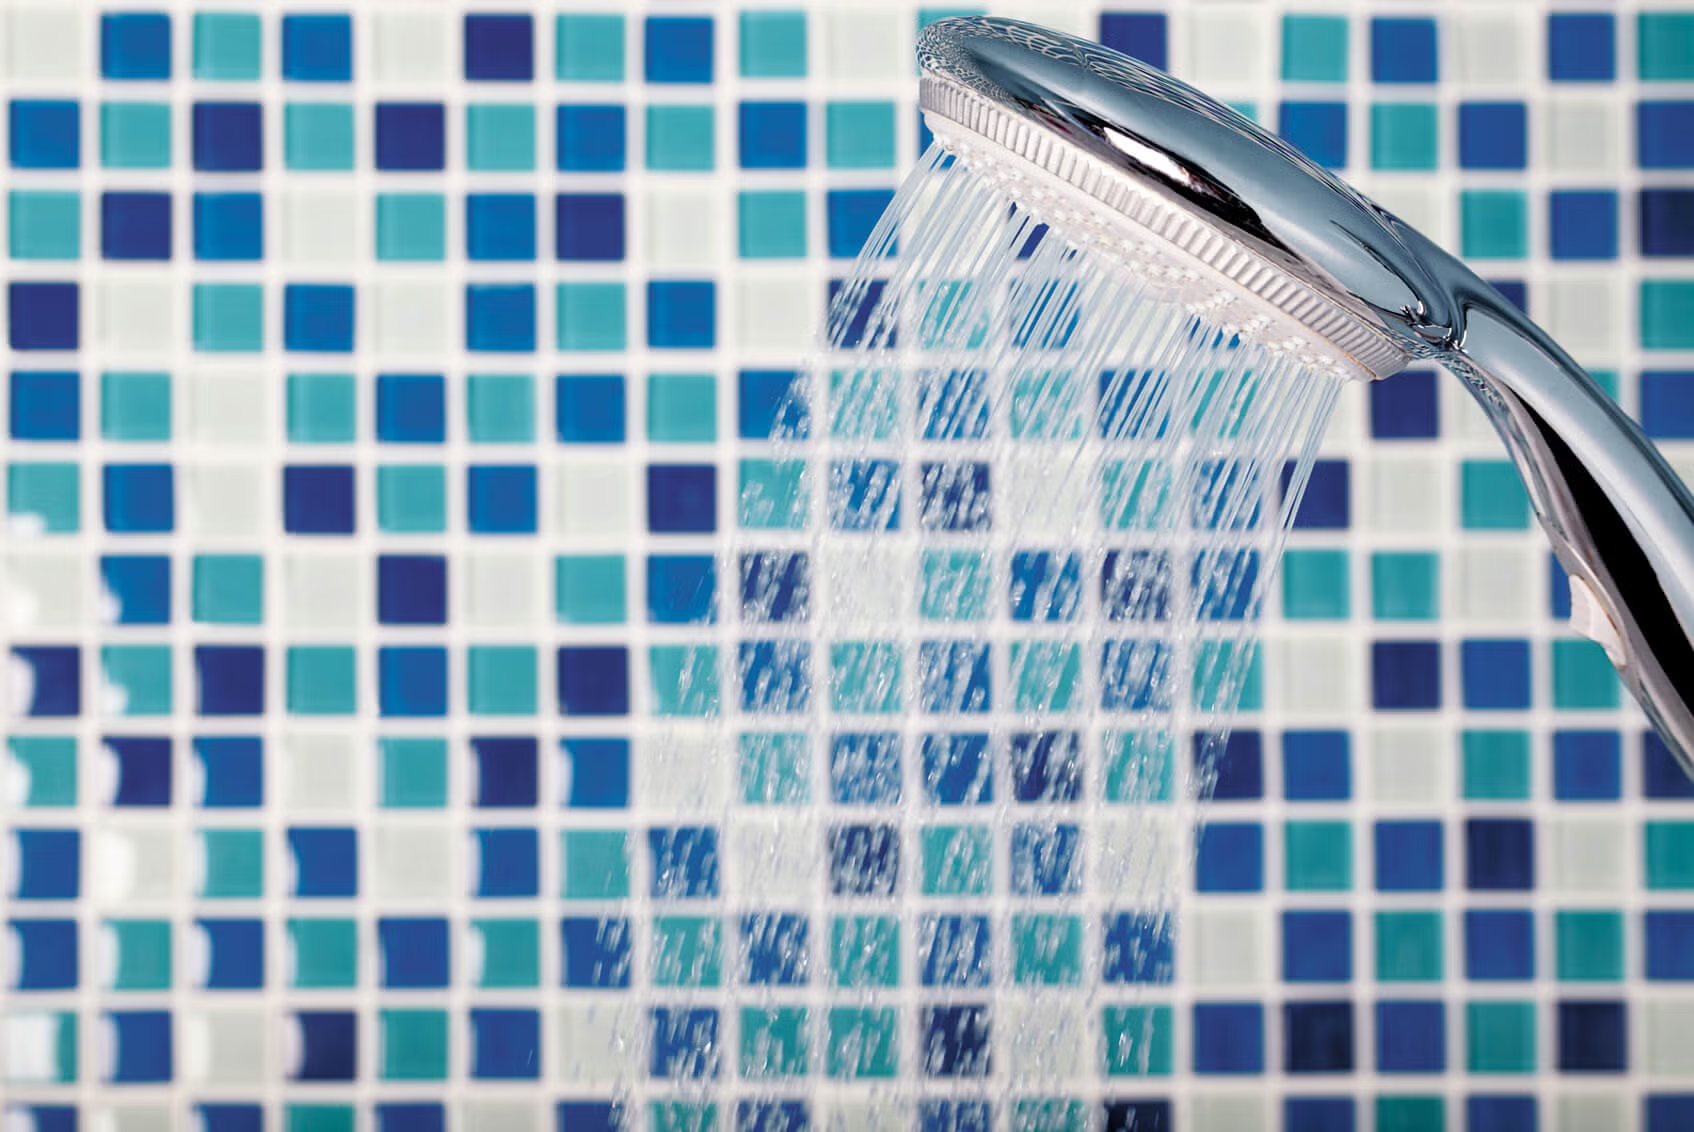
Use a squeegee Removing the water from the tile will help the grout dry quicker. Keeping the walls of the shower free from moisture will prevent mold and mildew from growing.
Wipe the area down with a dry microfiber cloth. Even if you use a squeegee, you’ll still have drips and water on the tile and grout. Dry the entire shower with the microfiber so there is hardly any moisture left in the shower when you are done.
These maintenance tips will help your tile grout stay cleaner longer, but regular cleaning is a must to keep your grout bright, clean and free of mold. The ideal cleaning frequency for bathrooms is weekly but many of us don't have the time to do it that often. So, if bi-weekly is as often as you can clean your bathroom, relax knowing you're in the majority, and/or get a cleaning estimate - Maid Brigade would love to help you out with your house cleaning!
Follow these instructions on how to clean tile grout in your shower and bathroom floor and you'll have a sparkling bathroom every time you clean.
Things you will need:
- Bucket of hot water
- Stiff grout brush
- Baking Soda
- Oxygen bleach
- Borax
- Steam Cleaner (optional but awesome)

How to clean tile grout in the shower
Step 1 Set aside 30 minutes or more to spend cleaning the grout. Cleaning the grout is not a quick process. Start in an inconspicuous area to see if the cleaning will make a drastic difference to the color of the grout.
Step 2 Start with a bucket of hot water and add in 1 cup of oxygen bleach. Using a microfiber cloth, wipe the grout with a generous amount of the oxygen bleach mixture.
Step 3 Let the oxygen bleach mixture sit on the tile grout for 30 minutes.
Step 4 Wipe the grout with a clean microfiber cloth.
Step 5 If the grout needs more cleaning, reapply the hot water mixed oxygen bleach. Then sprinkle 1 teaspoon of baking soda and one teaspoon of borax over a small area and scrub with a small stiff brush. The powders will mix with the oxygen bleach mixture and will create a paste that will penetrate the grout to leave it clean.
Step 6 Let the powdered mixtures sit on the grout for another 30 minutes.
Step 7 Using a microfiber cloth, rinse off all the powder, paste and oxygen bleach mixture and let the grout dry.
Step 8 Once the grout is completely cleaned and dry, seal it with a grout sealer to keep it clean and stain free.

How to clean tile grout in the floor
Step 1 Vacuum the entire floor to remove sand and dirt from the area.
Step 2 Place warm water in your steam cleaner and use the attachment hose with a small nylon or brass bristle brush.
Step 3 Each steam cleaner is different, but look for the button, light or signal to let you know that the cleaner is producing steam.
Step 4 Using the small bristle brush, target the steam over the grout. You will see dirt and debris moving away from the grout onto the tile. Use a dry microfiber cloth and wipe up the dirty water as you go.
Step 5 Work in small areas and let the grout dry before proceeding to the next area.
Step 6 Let the entire floor dry and wash completely with plain hot water and a microfiber mop.
How to maintain your floor tile grout
- After your tile grout is cleaned apply a clear tile grout sealer to protect it from stains and dirt.
- Wash the entire floor with hot water and oxygen bleach. Let the water and oxygen bleach mixture sit on the floor as long as possible (at least 30 minutes) and then wipe the floor dry.
If you liked these tips, you may want to also read:
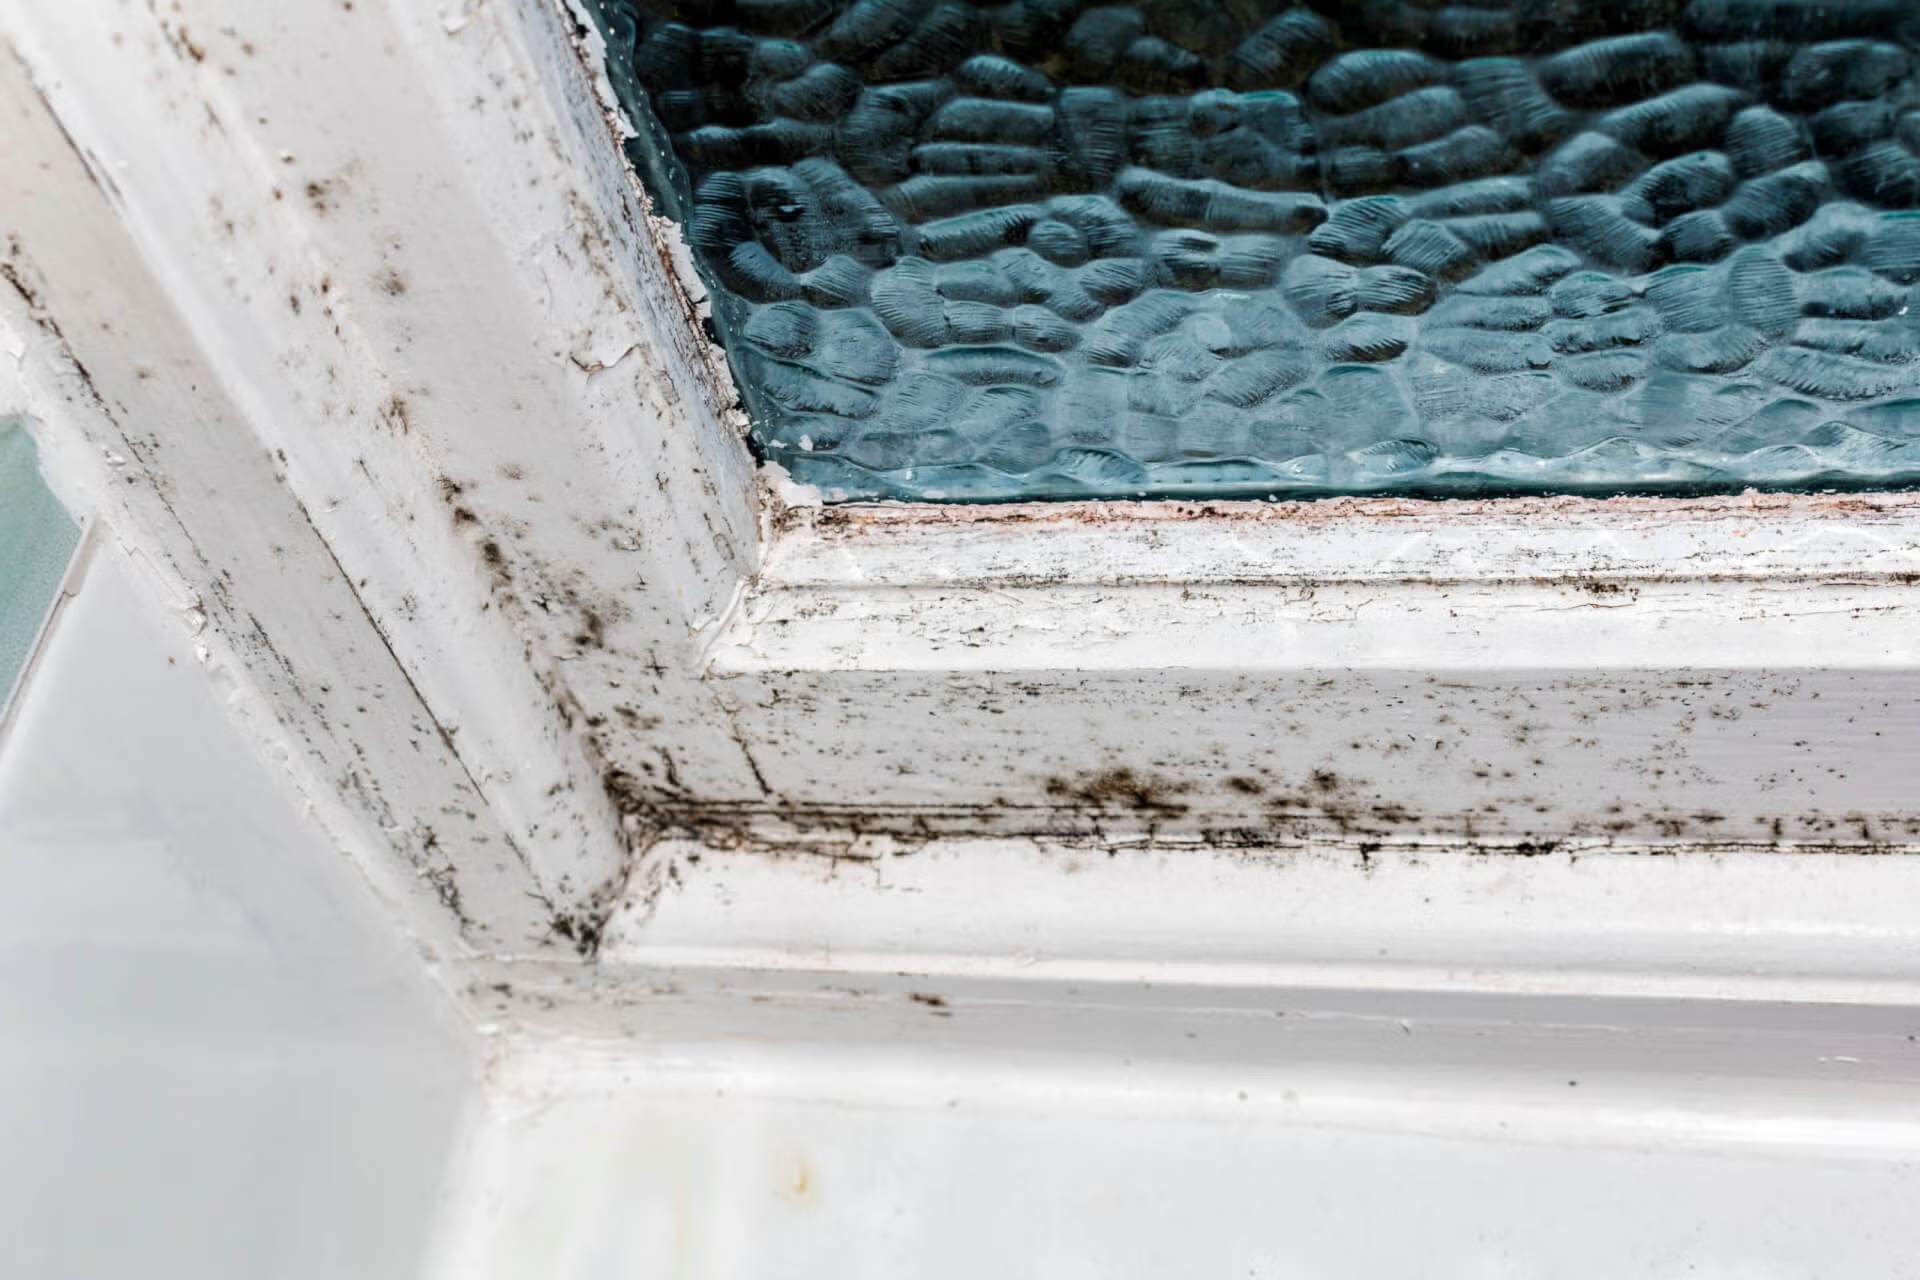
Battling Mold in Your Bathroom
For more great green cleaning tips from Leslie Reichert, visit the Green Cleaning Coach website.


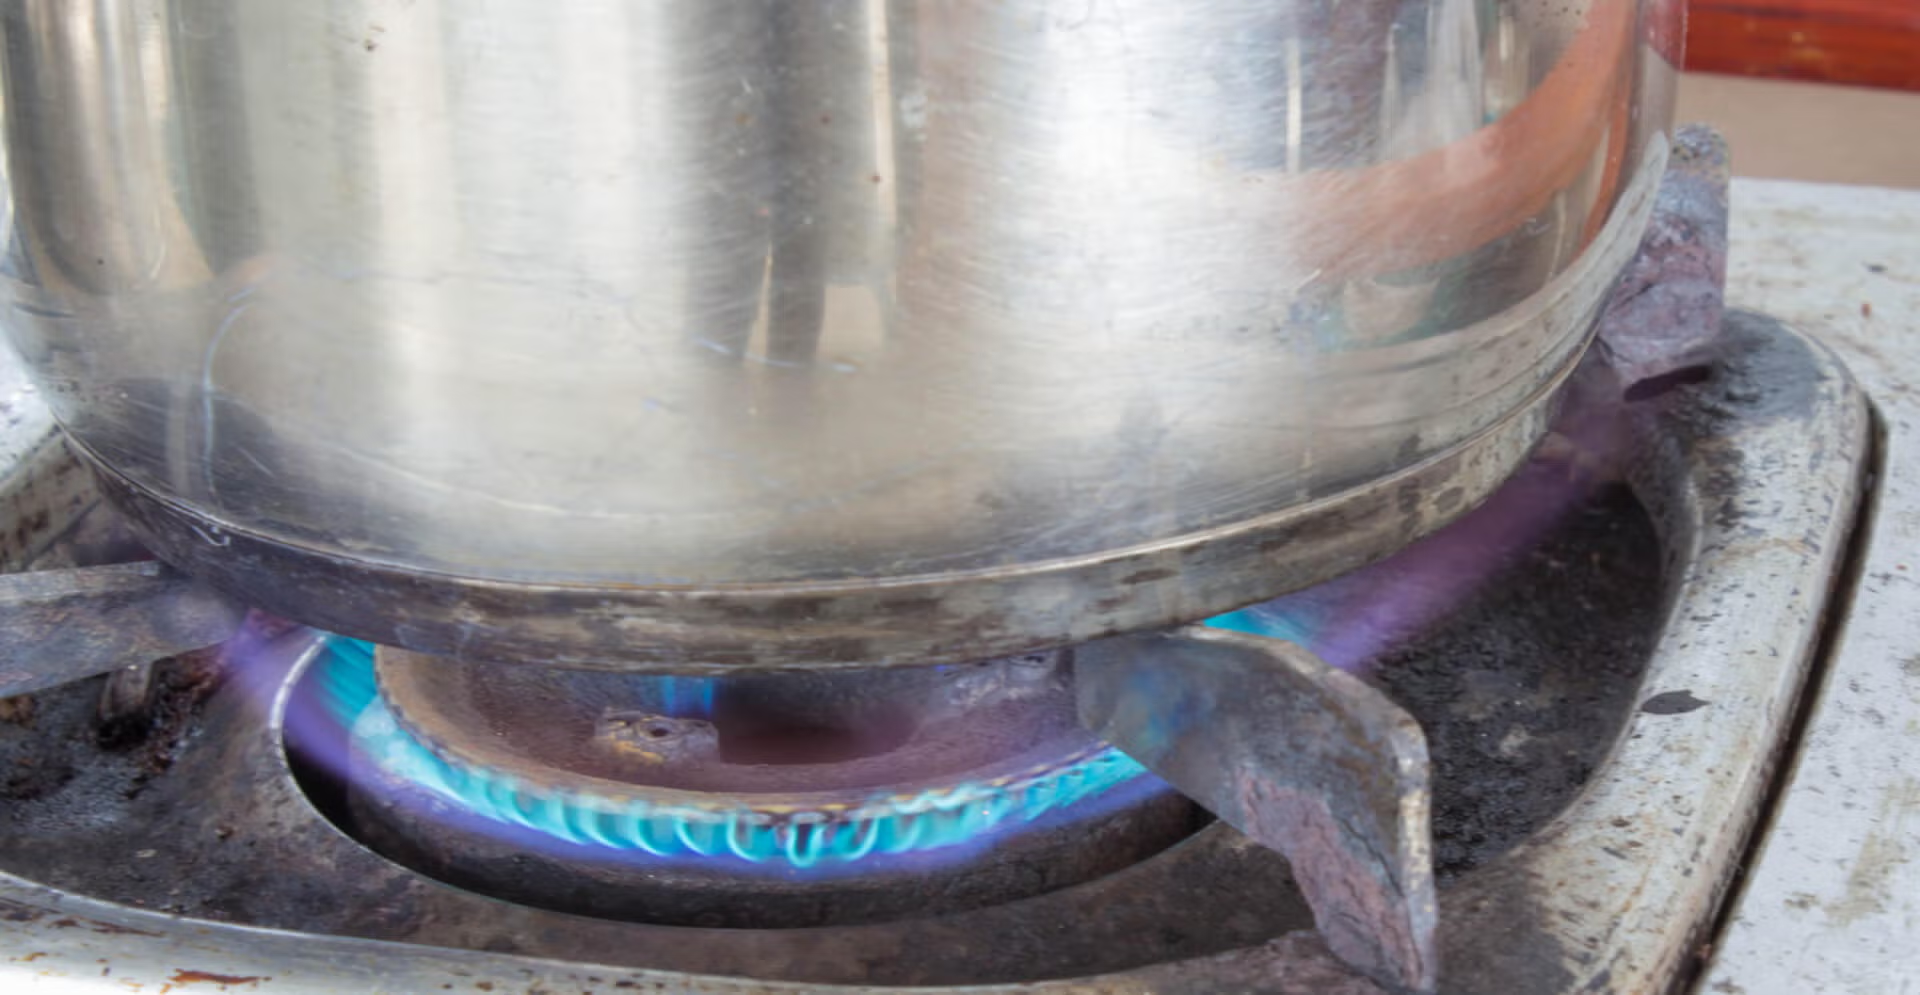


 Today's high-end appliances take expensive specialty cleaners to keep looking brilliant - or DO they? Leslie Reichert has some green cleaning techniques that work just as well, and you probably have them on hand right now.
 Cleaning the oven*
 Granite countertops