Tag: kitchen cleaning

How To Deep Clean Your Kitchen

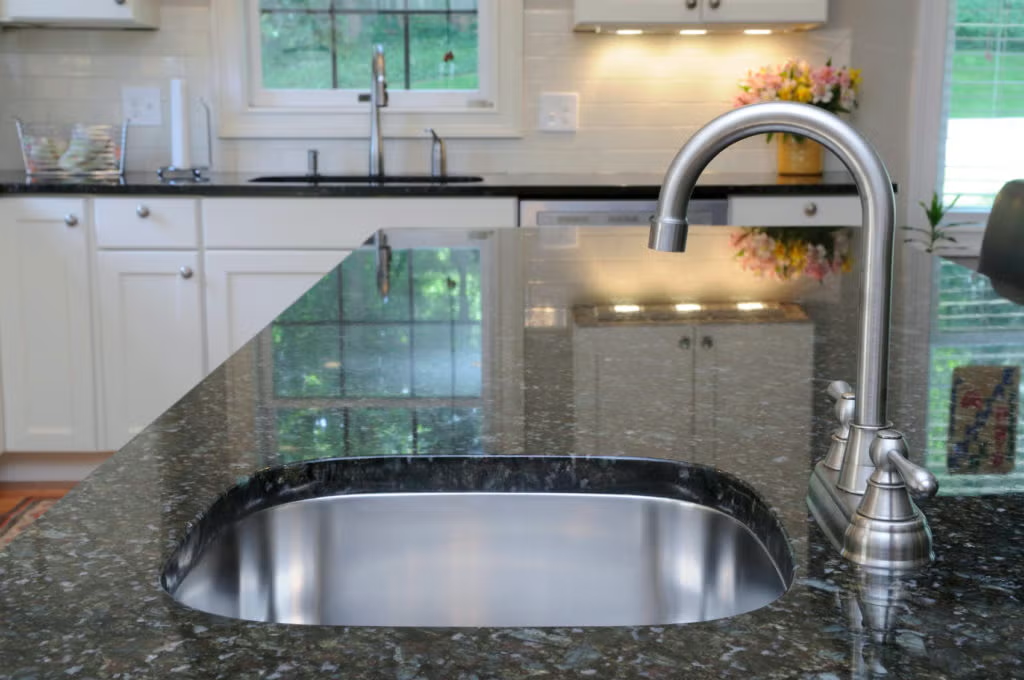
I don’t know about you but I spend most of my time trying to keep my kitchen clean and clutter free. I’m doing things like; putting things in the dishwasher, picking up papers on the counters and constantly vacuuming up dog hair.  Deep cleaning?  It’s not on my radar. Let’s look at some of the places in the kitchen that probably haven’t been cleaned in a long while.

Cleaning the Refrigerator, Freezer, & Sink Disposal

Refrigerator ice/water dispenser - Drip trays are a breeding ground for bacteria.  It’s actually be called the “dirtiest place in the kitchen.” To clean this area, wipe out the drip tray with a dry, clean microfiber cloth. Then remove any buildup in the drip tray by filling it with distilled white vinegar and allow it to soak for 10 minutes. Mix 1 tbsp. of baking soda with 1 cup of warm water and place the mixture inside the dispenser tray. Rinse the dispenser and wipe it with a dry microfiber cloth.

The freezer – Even if you have a self-defrosting freezer, you occasionally need to turn off the power and clean the entire area.  Crumbs and droppings along with dust and dirt need to be removed. By turning up the temperature, you’ll be able to wash the freezer walls without the moisture freezing on your cleaning cloth. Use warm soapy water to wash the floor and walls of the freezer, then rinse completely. Let it air dry before turning down the temperature.

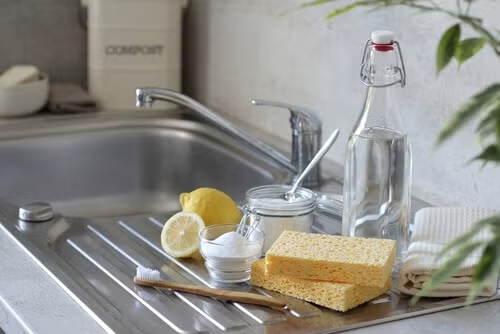
Disposal – Food particles and gunk build up on the blades of the garbage disposal. A simple way to clean the blades are to freeze some lemon peels and place them, with some salt, into the disposal.  Run the disposal until they are gone.  Your disposal will be clean and smell wonderful.

Cleaning Your Cook Top & Microwave

Stove – Clean the stove from the inside out. If you have a self-cleaning oven, follow the directions and let it do the dirty work. If you don’t have a self-cleaning oven, you can use a paste of baking soda and water, and spread it on the walls and floor of the oven. Then spray it with distilled white vinegar. Let it sit overnight and wipe clean.

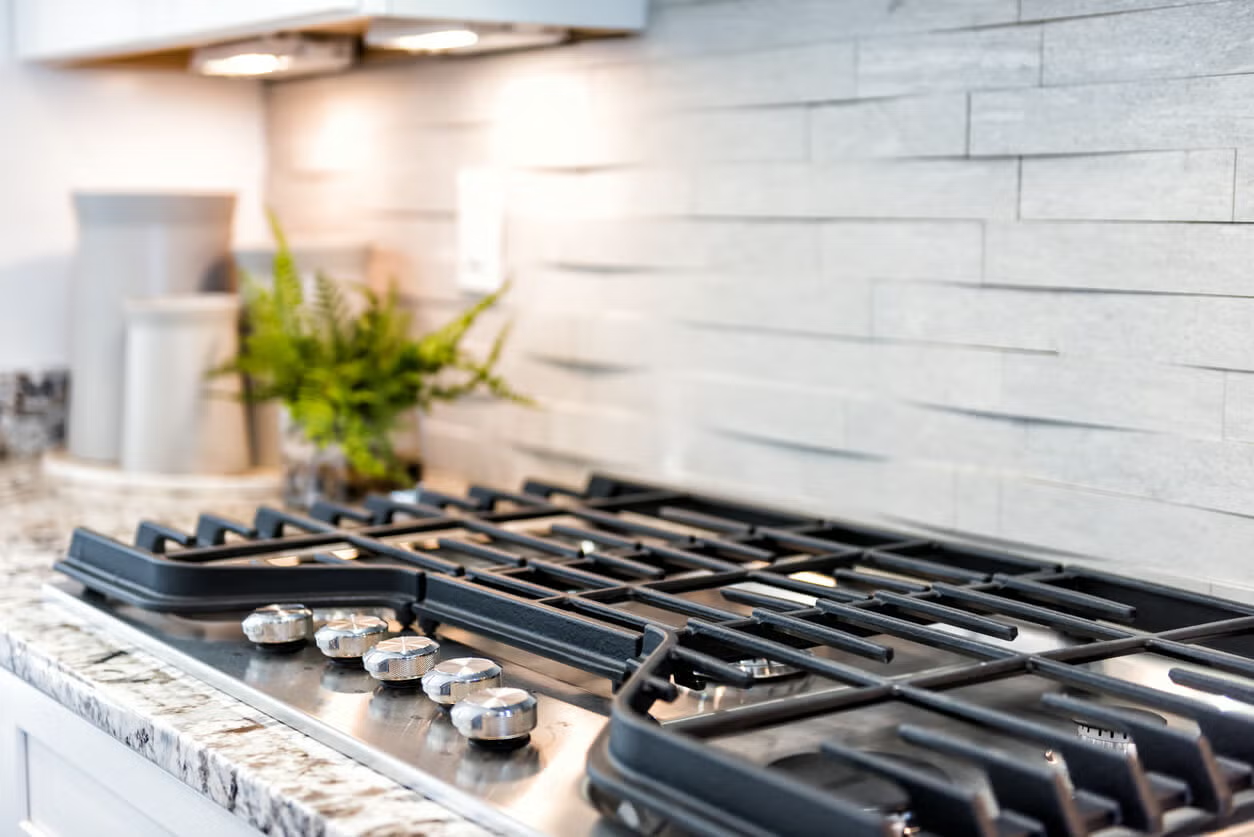
The top of the stove – The best way to clean the top of the stove is to remove all the pieces of the stove top and start scrubbing. Try not to use anything aggressive as you can scratch the finish. Once it’s completely clean, use a clean damp microfiber cloth to leave it sparkling clean.

The bottom drawer of your stove – This is one place that hardly gets cleaned. Remove all the items of the drawer then use your vacuum to remove crumbs and dirt. Wipe the drawer with soapy warm water and a microfiber cloth. Let the drawer air dry.

Microwave – A quick way to clean the inside of your microwave is to put a bowl of hot water with lemon juice in the microwave and turn on the power until it starts to boil. This can be from 2 to 4 minutes. Let the bowl sit in the microwave for 5 more minutes. Open the microwave and wipe the walls and the base clean with a microfiber cloth.

Cleaning Other Areas Around the Kitchen

Cabinet Knobs - Kitchen knobs hardly get cleaned even if you wipe the cabinets frequently. Use some hydrogen peroxide on a microfiber cloth to remove buildup and germs.

Floors – Cleaning your floor with a sponge mop actually leaves buildup on the perimeter of your floor.  For a deep cleaning, get a bucket of hot water with a few drops of dish detergent and get down on your hands and knees. Give your floor a good scrubbing.  Use a microfiber cloth and a scrubbing sponge for tough spots. You can also use a steam machine to deep clean the floor.

Chairs and table – Wiping down your table after dinner is probably part of your routine, but when was the last time you “deep cleaned” your kitchen chairs? And how about the base of the table?  When you are ready to deep clean your table and chairs, start with a bucket of hot water and a microfiber cloth and wipe off dust, grime and grease. Don’t bother with a cleaning product. Using the hot water and microfiber will leave the table and chairs clean without a film from a cleaner.

Light fixtures – A quick tip to deep cleaning your kitchen light fixtures is to pop the glass shades into the dishwasher. The hot water and agitation will remove built up dirt and grease. They will come out of the dishwasher sparkling clean.

For more information from DIY green cleaning expert Leslie Reichert, visit https://www.facebook.com/GreenCleaningCoach/

Cleaning Stainless Steel from the Inside Out

cleaning the stainless steel in your kitchen

In the late 1960s and into the 70s, the favorite colors for our appliances were earth tones which really meant they were different shades of brown. You would find kitchens with Avocado Green, Harvest Gold or Almond appliances. In the 1980s, black fronted appliances became the rage. The black shiny surfaces were very difficult to keep clean and showed every streak and smear.  Late in the next decade stainless steel started to appear in designer kitchens.  Stainless is a favorite in kitchens even today.

Stainless steel was discovered in 1913 by Harry Brearley of England. It was known as “rust-less” steel. This was the first stainless steel.  Even though stainless steel is rust proof, it is not oxidation proof. When the metals in stainless steel are exposed to oxygen, they oxidize and leave a film or stains that need some special care to remove.  Let’s look at different ways you can clean your stainless steel.

Daily cleaning – One of the easiest ways to keep your stainless steel clean and “print” free is to use a microfiber cloth and water. The best type of microfiber is a very fine woven cloth made especially for cleaning windows.  Start by using a clean microfiber cloth, wet it with water, and wring it out completely. Wipe over the entire appliance and then dry the appliance with a large looped (dry) microfiber cloth.  Your stainless steel will be print, streak, lint, and smear free.

Deeper cleaning – If you have a stainless steel stove, you need to use a gentle degreasing cleaner to remove the grease before following the daily cleaning regimen. A quick DIY recipe for a degreaser is to mix distilled white vinegar with a drop or two of dish detergent and place the mixture in a spray bottle.  Remove the control knobs on the stove by pulling them straight off, then spray with the degreaser. Let it sit for a few minutes, then wipe the area with a damp, large looped microfiber cloth. Once the stove is grease free, follow the daily cleaning method above.

Deepest cleaning – If you find your stainless steel doesn’t look clean after wiping it with a microfiber cloth, you may have oxidation that needs to be removed.  You can use a tablespoon of baking soda mixed with a ¼ teaspoon of olive oil and rub it in the direction of the grain of the stainless steel. You will notice your sponge turning black. That is the corrosion being removed from the stainless steel.  Rinse the cleanser completely from the metal and dry with a microfiber cloth. Once the stainless steel is dry, apply a very light coat of baby oil over the surface of the appliance. This will seal the metal and will temporarily stop the oxidation process.  If the appliance starts looking cloudy or has a film, you can applying more baby oil before going through the entire scrubbing process.

Interior cleaning of stainless steel appliances – When cleaning the inside of any appliance, using little or no cleaner is recommended. Instead, use a microfiber cloth and water which will thoroughly clean the inside of all your appliances.

A tip for the microwave - When cleaning the microwave, you can place a tablespoon of lemon juice into a glass of water and microwave it until it starts to steam (2 to 4 minutes.) Once you see the steam, turn off the microwave and let the steam and lemon juice sit on the walls and floor of the microwave. The acid in the lemon juice will work to loosen food particles inside the microwave. Wipe the entire inside of the microwave with a wet, large looped, microfiber cloth. Make sure to let the interior air dry before closing the door.

For more information from DIY green cleaning expert Leslie Reichert, visit https://www.facebook.com/GreenCleaningCoach/

How to Clean Cast Iron, Wooden Cutting Boards, & More

Cleaning Supplies

After years of trying to clean those “hard to clean” kitchen items, I’ve found that it’s really not the technique but the tools that make the task easier.  Things like cast iron or wooden cutting boards have been around for hundreds of years but just recently technology has caught up to make them easier to clean.  Let’s look at some simple methods of cleaning these hard-to-clean items and then we will look at some new tools that make cleaning them very simple.

Cast iron – One thing to remember when cleaning cast iron is that it is a very porous metal. If you use any type of soap on cast iron, it will absorb it and then leech it back into your food when cooking. One simple way of cleaning your cast iron without soap is to use salt to give it a good scrub. The salt used with a sponge will work to remove any built-up food on the pan. And it will rinse right off the pan and leave it free from chemicals.

A new alternative for cleaning cast iron is a product called CM Scrubber. It’s made of chain mail – which is the same technology used in the Middle Ages to make armor.  This simple chain mail scrubber is made of woven metal links that work to scrub the cast iron without chemicals. All you do is use the metal scrubber on the pan and rinse.  It’s truly amazing how easy it makes it to clean your cast iron pans.

Wooden cutting boards – Wooden cutting boards are also very porous, but research has shown that the wood actually works to kill bacteria left on the wood. This does not mean we don’t have to clean the wood after using it. A simple solution to clean a wooden cutting board is to cut a lemon in half and them dip the open end of the lemon into some table salt. Use the lemon and work the salt over the wood to clean and disinfect the cutting board. The acid in the lemon along with the scrubbing action of the salt will clean the cutting board without using harsh chemicals.

A cool tool to use on the cutting board is called a Skoy Scrubber.  It’s made in Germany and is aggressive enough to scrub the wood without hurting it.  If you use this scrubber you don’t need to use any chemicals to clean the cutting board.

Fine china – If you have very expensive china and don’t trust your dishwasher to clean it without damage, there are some great cloths and sponges that will work to clean them gently and completely. My favorite tool is called a Skoy cloth.  It’s a cross between a paper towel and a sponge.  These cloths are made in Germany, just like the Skoy Scrubs, from a by-product of paper. They are strong, yet gentle and are perfect for washing your fine china.

Expensive crystal – To avoid having film and spots on your fine crystal I recommend washing them by hand. You can use the Skoy cloth and a gentle dish soap to wash them and then rinse with warm water. The best tool to dry the glass is a fine woven microfiber cloth. Don’t let the crystal air dry as that’s where you get spots. Instead rinse and then try right away with the microfiber cloth.

Tall thin vases – You can wash vases in the bottom drawer of a dishwasher but here is always that white film in the bottom of the vase that just won’t come off.  A simple trick it to sprinkle table salt into the bottom and drop in some ice chips. The salt will melt into the ice and turn into a scrubber.  Swish the salt/ice combination around for a few minutes then rinse with hot water.  The salt will scrub away all the film.

keeping kitchen clean

For more information from DIY green cleaning expert Leslie Reichert, visit https://www.facebook.com/GreenCleaningCoach/

Kitchen Cleaning Hacks - Cleaning Your Stovetop

The stove has been called the “heart of the kitchen”, mainly because it’s where most of the family meals are prepared. Keeping your stove’s cooktop clean should be a priority.  Built-up grease and food debris can cause smoke which can damage the surrounding walls or even worse, start a fire. Let’s look at a few tips that will keep you keep the top of your stove clean and safe.

Never clean your stovetop while it’s still hot. It doesn’t matter whether you have a gas or an electric cooktop, never clean it while it’s hot. The heat will turn your cleaning product into a vapor which is dangerous if you breathe it in. Instead, wait until the stove has completely cooled before cleaning.

Remove any movable parts from the stove before cleaning. This includes grates, spill trays, and knobs. Move these pieces out of the way so you will be able to clean every nook on your stovetop. It will also let you concentrate on cleaning those pieces separately – away from the stove.

Soak the items you’ve removed in warm soapy water. Let them soak for a few minutes to loosen the grease and the oils. Wipe them with a large looped microfiber cloth. If the buildup doesn’t come right off, spray them with rubbing alcohol and let them sit for a few minutes on a paper towel. The alcohol will work to break down the grease so you won’t have to scrub too hard to remove it.

If you have a gas stove do NOT spray any cleaner directly onto the cooktop. Instead, spray the cleaner on a microfiber cloth and wipe the stovetop with the cloth. Without knowing the ingredients in your cleaner, it is not safe to spray anything around an open flame.  Remember a gas stovetop has a pilot light underneath that could be exposed to the ingredients in the cleaner.  Another item to avoid around a gas stove is alcohol.  Alcohol is a great product to use to break down grease and oil but do not use anywhere near a gas flame.

Glass stovetops have a lovely look but can be extremely difficult to clean.  The glass needs to be cleaned thoroughly after each use or the residue will become burnt on. There are a lot of specialized creams that you can use to clean the glass. The trick is to use a damp sponge with the cream and apply it in a circular motion. If you have spots that just won’t come clean, you can use a straight edge razor tipped at a 45-degree angle to scrape off the spots. Don’t be afraid of scratching the glass. Just use a new razor blade each time you clean and the residue will slide right off. Finish with a damp microfiber cloth.

Stainless steel stovetops also need to be cleaned after every use.  The stainless in between the burners will oxidize and look very spotty. Wipe the cooktop down with a degreasing cleaner, Then, use a powdered cleanser like Shadazzle to remove the oxidation and leave the stainless steel looking perfect. Wipe off the cleanser, then finish with a light coat of baby oil.  The baby oil will seal the stainless steel, prevent further oxidation and keep it looking streak free.

A hack for cleaning drip pans is to boil some hot water in a large pot big enough to submerge the drip pans. Add a cup of dishwashing detergent and stir until it’s dissolved. Place the drip pans in the boiling water, turn off the heat and cover. Let them sit in this mixture overnight. In the morning just give them a quick rinse and most of the crud should come right off.

Brown burn marks on your stovetop can gently be removed with baking soda and a soft sponge. Just sprinkle the spot with the baking soda and use the damp sponge to gently scrub the spot away. Be very careful not to be too aggressive or you could scratch the surface.

Make a DIY grease cutter to remove grease and oil from your stovetop. Just add some pure lemon juice to a bowl of baking soda until it becomes a thick paste. Then apply this mixture to your stovetop or hood. Let the paste sit for a minute or two then spray the area with HOT distilled white vinegar.  The hot vinegar will activate the baking soda to lift and remove the oils from the surface while the acid in the lemon juice will work to cut through the greasy buildup so it’s easier to remove.  Just give the stovetop a quick wipe and it will be sparkling.

For more information from DIY green cleaning expert Leslie Reichert, visit https://www.facebook.com/GreenCleaningCoach/

Deep Cleaning the Kitchen - Part 2

Deep cleaning the kitchen is a large undertaking with many smaller projects that need your attention.  Try to break down this deep cleaning project in to smaller bites so you don’t become overwhelmed.  That's why we used two blogs to cover how to deep clean the kitchen and everything in it. If you missed Part 1, click here.

How to clean the oven

Before starting to clean the oven, do a little research and find out if you have a self-cleaning oven and if it still works.  If you’ve ever used oven cleaner or abrasives inside your self-cleaning oven interior, you may have damaged the oven walls, making the self-cleaning feature less effective.  Manual cleaning can also damage the fiberglass gasket that seals the door. So the self-cleaning option is always the best if you can use it.

how-to-clean-the-oven

If manual cleaning is necessary, the safest and most effective method uses baking soda. When cleaning the walls and floors of your oven, make a paste of baking soda and water and “paint” all the oven surfaces. Fill a spray bottle with distilled white vinegar and spray the surfaces covered with the paste. When the surfaces are sprayed with the vinegar the baking soda will foam up. The vinegar is activating the lifting action of the baking soda which will remove baked on debris. Continue to spray the oven walls and floors every 10 to 15 minutes. Let the paste sit for at least an hour and then wipe the surfaces clean. Rinse the oven walls with warm water and a microfiber cloth.

Oven racks can be cleaned with Barkeeper’s Friend and a sponge. If you have some really difficult spots you can use a pumice stone to remove them.

How to clean the stove top

Gas burners – Use the same technique used inside the oven on gas top grates. Place the grates in warm water mixed with a de-greasing dish detergent and let them soak for 30 minutes. Rinse them off and “paint” them with the baking soda mixture.  Spray them with the distilled white vinegar and let them sit for an hour or so. Rinse them with warm water and a microfiber cloth. Scrub difficult spots with Barkeeper’s Friend or the pumice stone.

Electric burners – The drip pans on an electric stove can be very difficult and time consuming to clean.  If there’s a heavy build-up of baked on food and grease, you may want to just invest in some new ones. But if there’s only mild to moderate build-up there are a few options to tackle the job.  Remove the drip pans and place them in hot water and dish soap so they can soak for at least an hour. Then place them in a zip lock bag filled with distilled white vinegar and let them soak overnight.  The next day remove them and scrub the tough spots with some Barkeeper’s Friend and a green scrubby sponge. Don’t use a  pumice stone on the drip pans as it will scratch.

how-to-clean-the-stove-top

Glass stove top – The best trick to clean burn spots is a flat razor. Use a new razor and make sure to hold it at a 45-degree angle. Scrape underneath the build up until you feel the razor gliding over the glass. Use some baking soda and a scrubby sponge to loosen stubborn spots and then use the razor to remove them.

How to clean the dishwasher

It seems a little strange to clean something that cleans, but there are two parts of your dishwasher that need your attention so it will work better. The first spot is the food trap that’s found in the base of the dishwasher. This trap captures food, debris and even pet hair. The trap is either a mesh filter or a tray that can be completely removed and cleaned. The food trap can be the cause of a smelly dishwasher. Food that gets caught in the trap will continue to breakdown and rot with each wash cycle which is why it needs to be a part of your deep cleaning.

How-to-clean-the-dish-washer

The other spots that need to be deep cleaned are the seals around the door, the soap dispenser and the rinse-aid compartment.  Dish washing detergent can build up on each of these seals and create a film that prevent the dishwasher from being water tight. Wiping all these areas with distilled white vinegar will remove the “ick” and keep the seals working the way they should.

How to clean the garbage disposal

How-to-clean-the-garbage-disposal

There is nothing worse than a stinky disposal. Rotting food on the disposal blades is usually the culprit.  You can remove this buildup by placing ice cubes or frozen lemon peels into the disposal and then running it with cold water until clear. The other smelly spot in your disposal is the underneath of the rubber splash guard. This can be cleaned with baking soda and a toothbrush. Remove the rubber splash guard and sprinkle the guard with baking soda and scrub it with the stiff brush. Rinse with soapy water and replace the rubber guard.

How to clean the kitchen sink

How-to-clean-the-kitchen-sink

Using a stiff toothbrush, scrub around the faucet and also where the sink connects to the counter top. If you have a sink that is mounted under the counter top, there is a hidden rim that needs your attention.  Use a toothbrush and baking soda to get up underneath this rim. The area gets splashed with food and soap that can build up with mold and mildew.

Follow these tips every quarter and the job becomes easier over time using these tried-and-true techniques that are the most effective and efficient tips on deep cleaning the kitchen.

Follow the link to read Deep Cleaning the Kitchen - Part 1.

For more great green cleaning tips from our DIY Green Cleaning expert, visit greencleaningcoach.com.

Your Perfect Kitchen: A Clean Space for Cooking, Gathering, and Enjoying Life

kitchen cleaning

A clean kitchen isn’t just about hygiene. It’s about creating a space where life’s best moments unfold. Picture this: You’re baking cookies with your kids, laughing as flour dusts the countertops, without a second thought about the mess. Or you’re unwinding after a long day, sitting down to a home-cooked meal without worrying what your kitchen looks like. When your kitchen is effortlessly clean, you have the freedom to focus on what truly matters: savoring the moments that make a house a home. 

As we’ll explore in this blog, there are steps you can take (in addition to scheduling regular and deep cleanings with Maid Brigade) to keep your kitchen spotless, safe, and perfectly arranged for a variety of cooking activities and the joy that they bring. 

Step into a Fresh Start

Before you even touch a single ingredient, a clean kitchen sets the stage for a stress-free cooking experience. Start with the simplest step: clean hands. Washing thoroughly with warm, soapy water for at least 20 seconds eliminates bacteria and keeps your food safe. Plus, with Maid Brigade’s expert cleaning services ensuring your counters and sinks are sanitized, you can confidently reach for fresh ingredients without worrying about hidden germs.

A Refrigerator That Works for You

Your fridge does more than just store food. It protects your family’s health. Picture a perfectly organized refrigerator: raw meats sealed and stored on the bottom shelf, crisp vegetables neatly arranged, and no forgotten leftovers lurking in the back. Keeping your fridge at 40°F or lower ensures food stays fresh, and a quick wipe-down prevents spills from turning into sticky surprises. 

And what if you hire Maid Brigade to tackle regular deep cleanings? It’s no surprise that your fridge will remain a spotless haven for fresh ingredients, ensuring your food is as clean as your kitchen.

Stress-Free Food Prep

Imagine effortlessly moving through your meal prep, grabbing a color-coded cutting board—green for vegetables, red for meat—without pausing to think about cross-contamination. With everything in its place and a habit of washing utensils immediately after use, your cooking space stays as fresh as your ingredients. When it’s time to cook, you can trust that your kitchen thermometer ensures every bite is safe and delicious.

A well-kept kitchen is a worry-free kitchen, and with Maid Brigade maintaining your kitchen’s cleanliness, these small but essential habits become even easier to uphold.

Food Safety graphic

  Source: USDA 

Enjoy the Heart of Your Home

The kitchen isn’t just a place to cook; it’s the heart of your home. It’s where you sip coffee in the morning light, where family and friends gather to share stories, and where the best conversations happen over a homemade meal.

Even with the best intentions, keeping a kitchen spotless can be a challenge. But what if you didn’t have to think about it? What if, instead of scrubbing counters, you were setting the table for a cozy dinner? Instead of deep-cleaning, you were pouring a glass of wine and truly relaxing? What if your kitchen was always guest-ready without a second thought?

This is where Maid Brigade comes in. Our professional cleaning services ensure your kitchen is not only clean but also sanitized using our non-toxic, eco-friendly PUREcleaning® system. Imagine the peace of mind that comes with a sparkling kitchen, always ready for your next culinary masterpiece.Let us handle the cleaning while you focus on the joys of cooking and spending time with your family. Contact your local Maid Brigade today to schedule a kitchen cleaning that will leave your space shining and stress-free.