
In the late 1960s and into the 70s, the favorite colors for our appliances were earth tones which really meant they were different shades of brown. You would find kitchens with Avocado Green, Harvest Gold or Almond appliances. In the 1980s, black fronted appliances became the rage. The black shiny surfaces were very difficult to keep clean and showed every streak and smear. Late in the next decade stainless steel started to appear in designer kitchens. Stainless is a favorite in kitchens even today.
Stainless steel was discovered in 1913 by Harry Brearley of England. It was known as “rust-less” steel. This was the first stainless steel. Even though stainless steel is rust proof, it is not oxidation proof. When the metals in stainless steel are exposed to oxygen, they oxidize and leave a film or stains that need some special care to remove. Let’s look at different ways you can clean your stainless steel.
Daily cleaning – One of the easiest ways to keep your stainless steel clean and “print” free is to use a microfiber cloth and water. The best type of microfiber is a very fine woven cloth made especially for cleaning windows. Start by using a clean microfiber cloth, wet it with water, and wring it out completely. Wipe over the entire appliance and then dry the appliance with a large looped (dry) microfiber cloth. Your stainless steel will be print, streak, lint, and smear free.
Deeper cleaning – If you have a stainless steel stove, you need to use a gentle degreasing cleaner to remove the grease before following the daily cleaning regimen. A quick DIY recipe for a degreaser is to mix distilled white vinegar with a drop or two of dish detergent and place the mixture in a spray bottle. Remove the control knobs on the stove by pulling them straight off, then spray with the degreaser. Let it sit for a few minutes, then wipe the area with a damp, large looped microfiber cloth. Once the stove is grease free, follow the daily cleaning method above.
Deepest cleaning – If you find your stainless steel doesn’t look clean after wiping it with a microfiber cloth, you may have oxidation that needs to be removed. You can use a tablespoon of baking soda mixed with a ¼ teaspoon of olive oil and rub it in the direction of the grain of the stainless steel. You will notice your sponge turning black. That is the corrosion being removed from the stainless steel. Rinse the cleanser completely from the metal and dry with a microfiber cloth. Once the stainless steel is dry, apply a very light coat of baby oil over the surface of the appliance. This will seal the metal and will temporarily stop the oxidation process. If the appliance starts looking cloudy or has a film, you can applying more baby oil before going through the entire scrubbing process.
Interior cleaning of stainless steel appliances – When cleaning the inside of any appliance, using little or no cleaner is recommended. Instead, use a microfiber cloth and water which will thoroughly clean the inside of all your appliances.
A tip for the microwave - When cleaning the microwave, you can place a tablespoon of lemon juice into a glass of water and microwave it until it starts to steam (2 to 4 minutes.) Once you see the steam, turn off the microwave and let the steam and lemon juice sit on the walls and floor of the microwave. The acid in the lemon juice will work to loosen food particles inside the microwave. Wipe the entire inside of the microwave with a wet, large looped, microfiber cloth. Make sure to let the interior air dry before closing the door.
For more information from DIY green cleaning expert Leslie Reichert, visit https://www.facebook.com/GreenCleaningCoach/
 Today's high-end appliances take expensive specialty cleaners to keep looking brilliant - or DO they? Leslie Reichert has some green cleaning techniques that work just as well, and you probably have them on hand right now.
 Cleaning the oven*
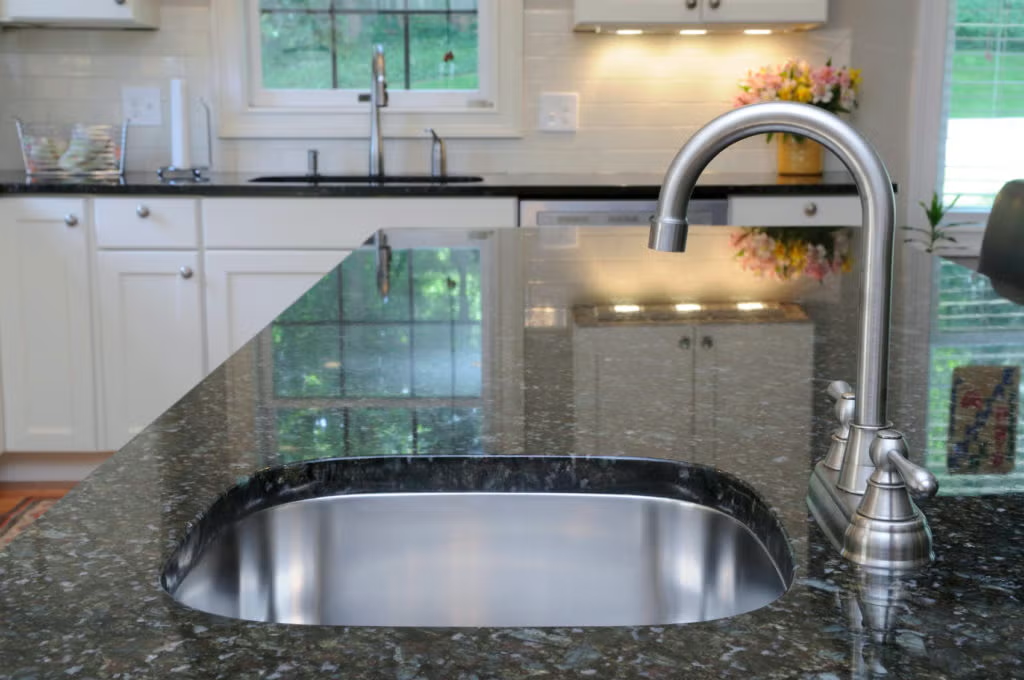
 Granite countertops